My blog was originally hosted on GitHub Pages, but it seems Baidu’s crawler was too aggressive and got banned by GitHub. According to marketmechian data, in mainland China’s search engine market, Baidu still holds half the market share:
- Baidu: 67.09%
- Sogou: 18.75%
- Shenma: 6.84%
- Google: 2.64%
- bing: 2.6%
- Other: 2.08%
As a Chinese blog, I still hope to be seen by more domestic users, so I’ve been looking for a way to let Baidu’s crawler automatically index my blog. While browsing blogs, I came across someone recommending zeit.co as a hosting platform. After trying it out, I found it to be an excellent static site hosting + CI Serverless Function platform, and I’m recommending it here.
Author: 木鸟杂记 (Muniao Notes) https://www.qtmuniao.com/2020/03/15/hexo-to-zeit-co/, please indicate the source when reposting
Several Methods
There are many methods online to make Baidu’s crawler index blog pages. The main ones are:
- CDN, using cloud service providers to create multiple mirrors of the blog.
- Switch hosting platforms, such as domestic code hosting platforms.
- Self-host using a VPS.
CDN is relatively expensive, I don’t want to switch hosting platforms, and VPS access speed from mainland China isn’t great. So this matter was put on hold.
zeit.co (Vercel)
While searching for information one day, I noticed a blogger [1] mentioning zeit.co, a cloud platform for hosting static web pages and stateless functions. After trying it out, I found it very powerful. It can integrate with GitHub as a GitHub App, taking over repo CI for deep customization, with fast deployment and automatic scaling.
The key point is that the basic features are currently free, which is more than enough for hosting a blog. What’s even more surprising is that it also offers Smart CDN and Smart DNS.
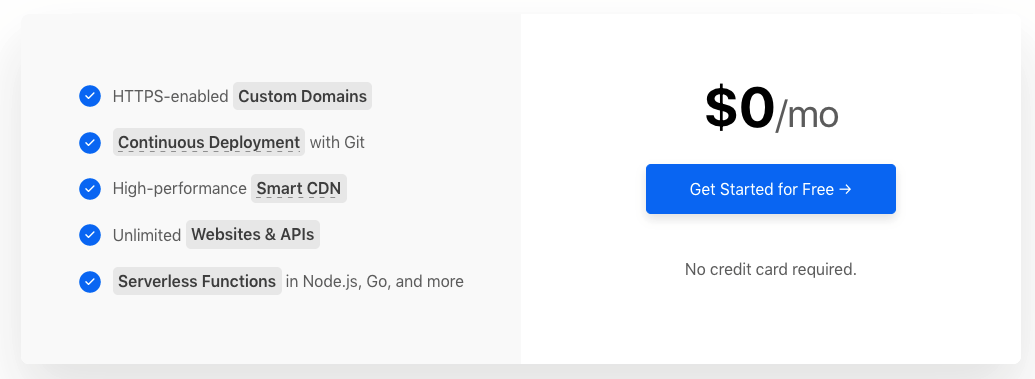 zeit-price.png
Migration
After understanding zeit’s advantages, I started working on migrating the blog’s hosting method. The main steps are as follows:
- Static code generation modification
- Import code repository into zeit
- Modify DNS pointing
Static Code Generation
Not everyone needs this step; I only need it because I didn’t fully understand hexo’s workflow before and had caused my own problems.
Previously, I only used one repo to manage all blog code: using the master branch as the hexo development branch and the gh-pages branch as the static code branch, then pointing the repo’s GitHub Pages to the gh-pages branch to publish the blog.
Since zeit can only perform CI on a repo’s default branch (i.e., master), there are at least two ways to host a hexo blog using zeit:
- Host Hexo development code. Use zeit to take over the hexo repository code and configure CI for it: every time code is pushed to master, trigger CI to compile and generate static web page code to the public folder, then publish the public folder.
- Host static web page code. Have hexo generate static web page code to the master branch of a new repo each time, then import that repo into zeit for hosting.
When I tried the first method, I found that hexo build kept failing. Later I discovered that because I had deeply customized NexT and modified some of NexT theme’s code, but hadn’t committed it to the repository. Because my local NexT theme code was still linked to the official NexT repo via git to pull the latest features in time, I hadn’t included it in the hexo repository. There should be a solution if I dug deeper into this, but I was lazy, so I chose the simpler second hosting method:
Modify the deployment method in the configuration file hexo/_config.yml of the hexo codebase as follows:
1 | 78 # Deployment |
Every time the command hexo d -g is executed, the generated static web page code will be pushed to the repo blog-publish:
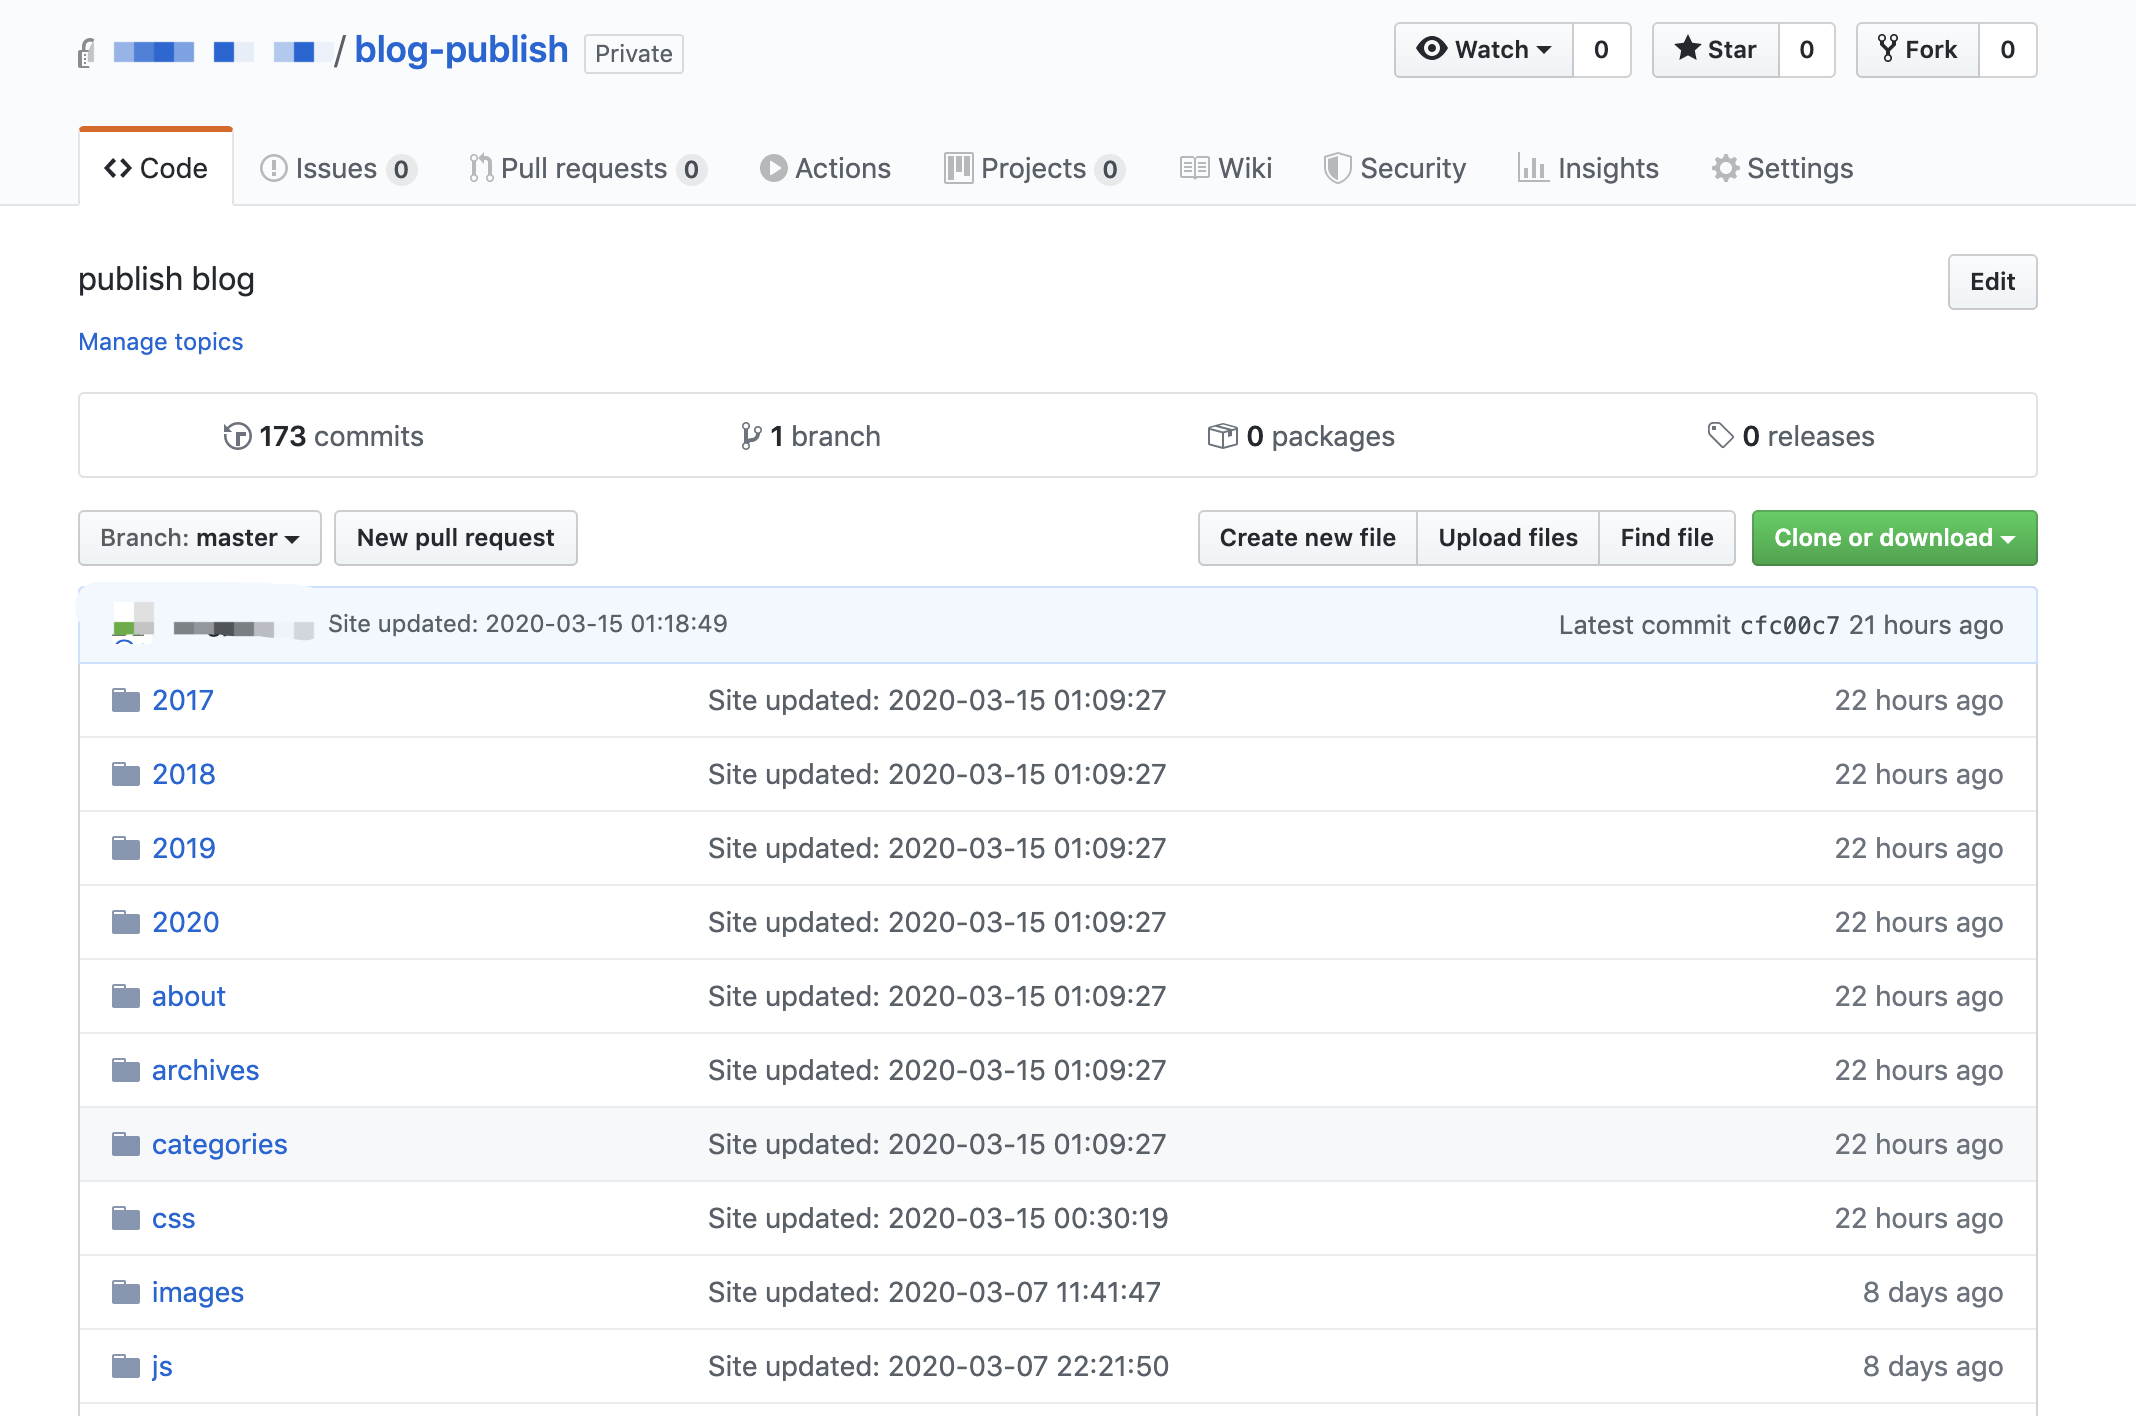 zeit-repo-publish.png
There are also additional benefits. Previously, I foolishly exposed various configurations (including some of my website’s secrets) in a public git repository (because private repositories can’t use GitHub Pages). With the second deployment method, I set both my development repo and static code repo to private. In addition, zeit will obtain all read-write permissions for the imported repo, which is a bit concerning. Therefore, using an additional static code repo is quite appropriate here.
Import Code Repo into zeit
Zeit’s web interface is very clean and fairly easy to use.
Sign up. Open the login page: https://zeit.co/login, and log in with your GitHub account.
Import. On the main page, click “Import Project”, then “Import Project From Git Repo”, and select GitHub. Perform authorization, noting that you only need to import the static code repository blog-publish.
Deploy. During the import process, just select the “other” template. The default CI command doesn’t need to be changed, and the Root Directory doesn’t need to be changed either. After the import is complete, it will automatically deploy for you.
Finally, you can see the URL generated by zeit in the deployment card:
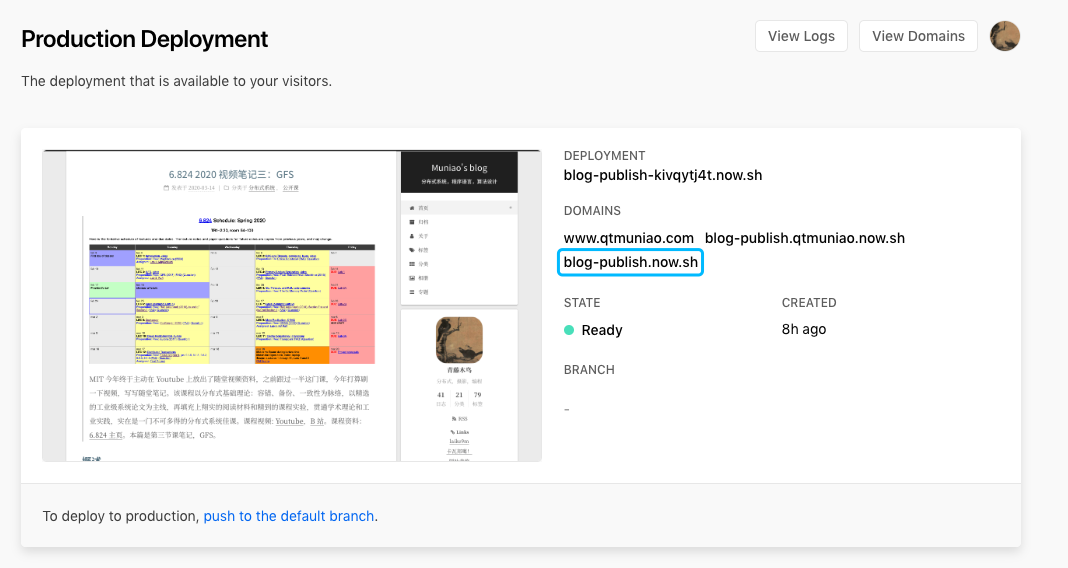 zeit-deploy.png
Modify DNS Pointing
If you have your own domain, you need to add a CNAME record in the DNS resolution of your domain service provider (Alibaba Cloud, GoDaddy, etc.):
1 | www CNAME 默认 blog-publish.now.sh. 0 600 |
Baidu Crawling
Finally, on Baidu’s Webmaster Tools page, under Data Monitoring > Crawl Diagnosis, perform a test.
The frustrating thing is that I had previously configured a dedicated route for Baidu’s crawler in my domain resolution, directing it to my VPS (which ultimately didn’t work, otherwise this article wouldn’t exist). After removing that record, Baidu’s crawler doesn’t update the IP corresponding to my domain in a timely manner. After clicking the error report, it says it will update in a few minutes, but several hours passed and it still hadn’t updated. But that’s another story.
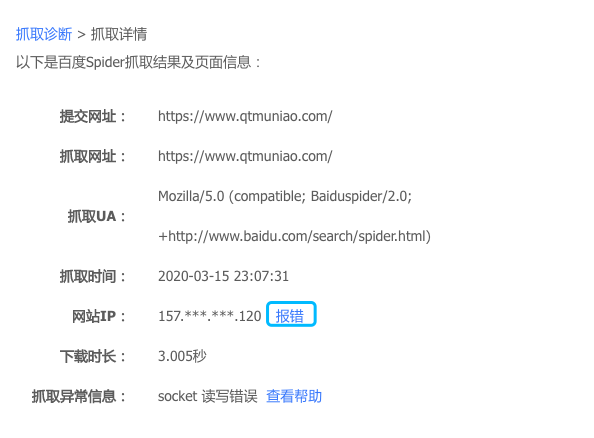 zeit-baidu.png
References
[1] Solving the Problem of Baidu Crawler Being Unable to Crawl GitHub Pages Personal Blog: https://zpjiang.me/2020/01/15/let-baidu-index-github-page/
[2] zeit.co Help Documentation: https://zeit.co/docs